Home
Products
Instructions
Authorized Dealers
2020 Mustang GT500
Counterfeit Warning
F.A.Q.
Video Demo
Contact Us & Warranty
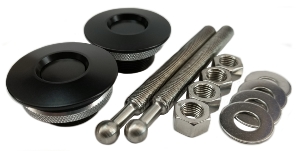
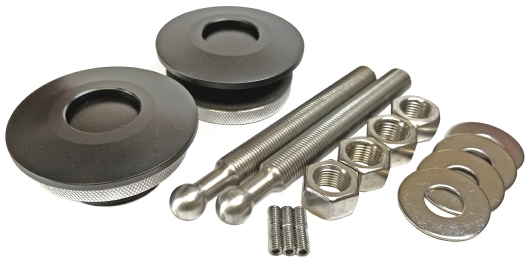
Quik-
Latch Installation Instructions
QL-
50 Series
QL-
38 Series
QL-50 Series
QL38
Twist Lock
Locking
Retro
Mini's
Air Cleaner
Cars with Quik-Latches
QL-25 "Mini" Accessories
Pin Sizes
QL-50 Instructions
QL-38 Instructions